
You do not always need a screenshot app.
For a while, I used tools like Greenshot and Lightshot for screenshots. Lightshot is still useful if you want quick annotations, arrows, or a workflow you already know well.
But for most everyday office screenshots, Windows already has enough built in.
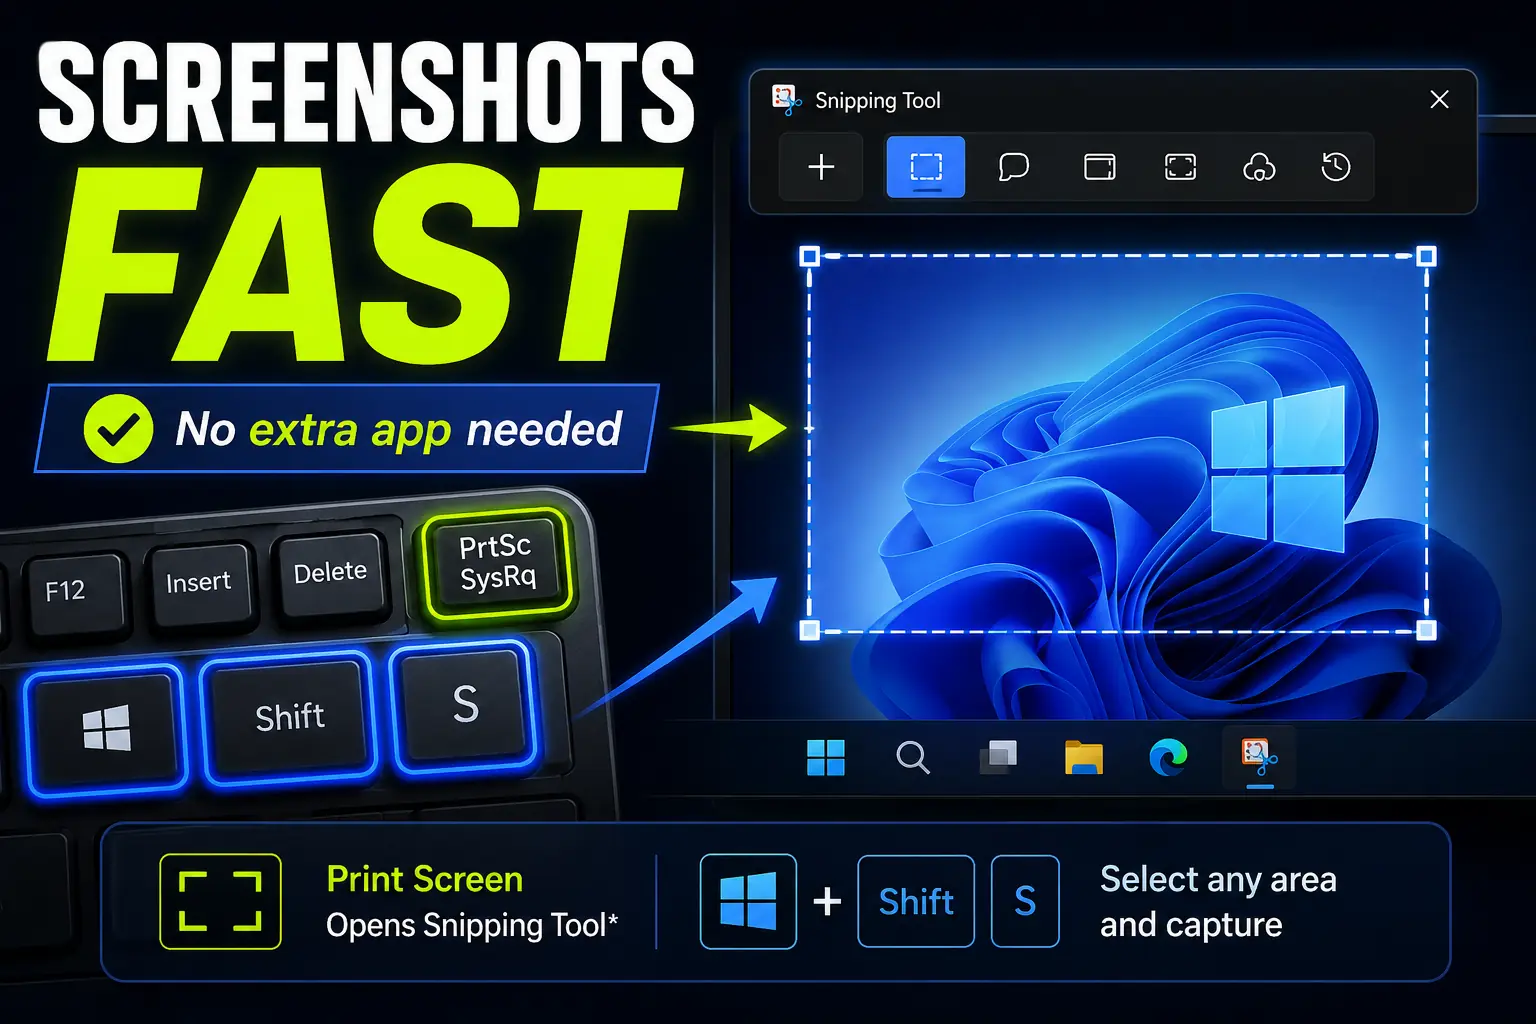
The two shortcuts worth knowing are Print Screen and Windows key + Shift + S.
Depending on your Windows version and settings, they may even open a very similar screenshot workflow. The important part is not which one is “best”. The useful part is knowing how to capture exactly what you need without installing another tool.
In this article
The fastest screenshot shortcut in Windows
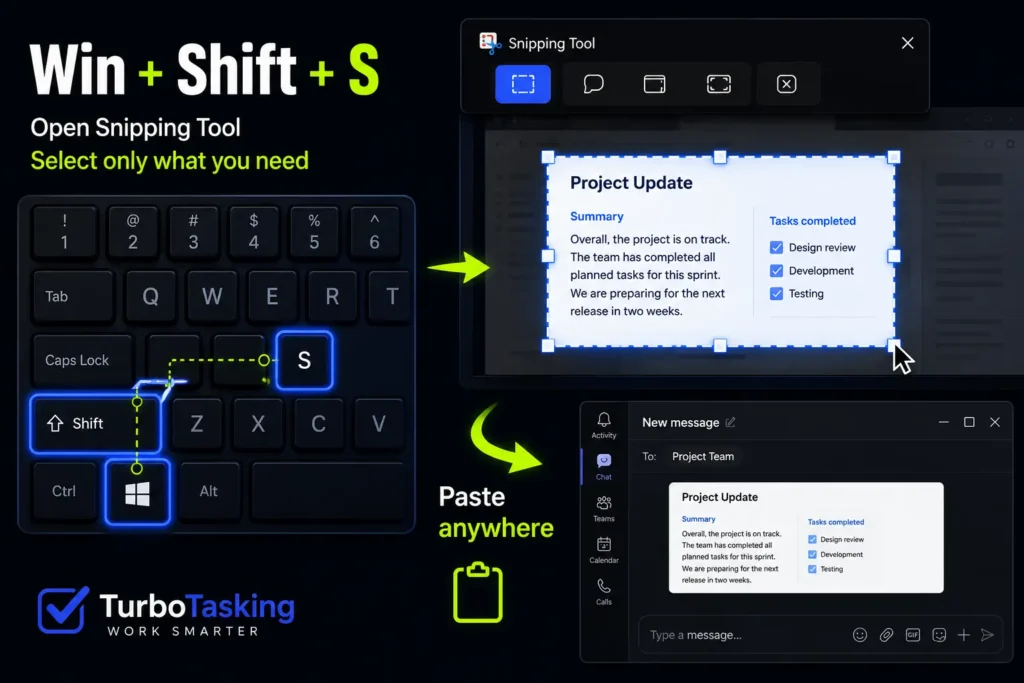
The shortcut I use most is:
Windows key + Shift + S
This opens the Snipping Tool overlay. The screen becomes slightly darker, and you can select the area you want to capture.
For office work, this is usually faster than capturing the whole screen and cropping later.
For example, you can quickly capture:
- one error message;
- one section of a spreadsheet;
- one part of a PDF;
- one setting in a Windows dialog;
- one piece of a web page you want to send to a colleague.
After you take the screenshot, you can usually paste it directly with Ctrl + V into Teams, Outlook, Word, PowerPoint, OneNote, a ticket, or almost any app that accepts images.
Microsoft documents this shortcut in its official Snipping Tool guide.
What changed with the Print Screen key?
Print Screen used to be simple: press the key, capture the whole screen, then paste the screenshot somewhere else.
That still exists in some situations, but Windows has changed the default behavior on many Windows 11 PCs.
Since a Windows configuration update in 2023, pressing Print Screen can open Snipping Tool by default. Microsoft says this setting can be changed from Settings > Accessibility > Keyboard, and that Windows preserves your preference if you had already changed it before.
You can read Microsoft’s note about the change in the May 24, 2023 Windows configuration update.
That means there is no universal answer to “what does Print Screen do?”
On your PC, it may open Snipping Tool.
On another PC, especially an older or differently configured one, it may still copy the whole screen to the clipboard.
This is why I still like remembering Windows key + Shift + S. It is explicit. When I press it, I know I am asking Windows for the screen snipping overlay.
But if you like using Print Screen and it already opens Snipping Tool on your computer, there is nothing wrong with that. Use the shortcut that your fingers remember.
Choose the right screenshot mode
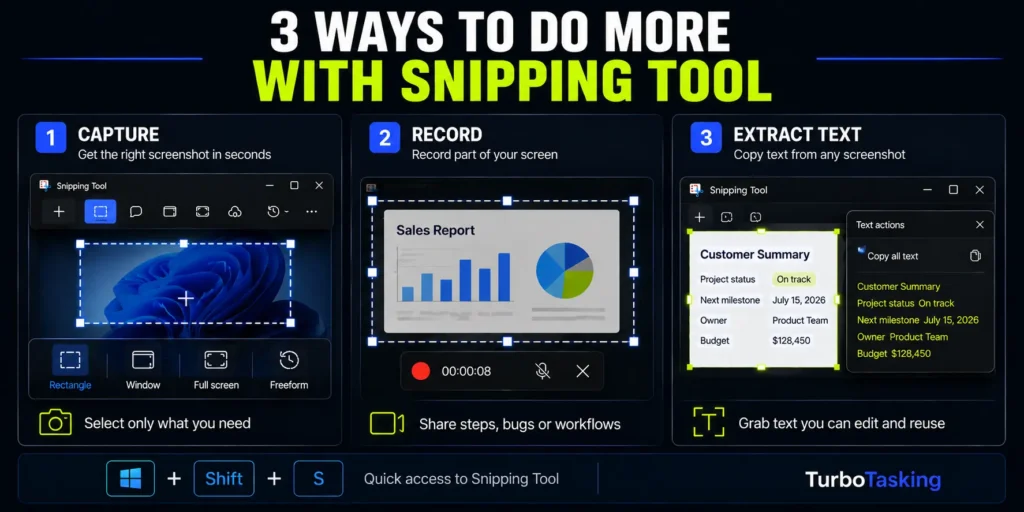
When the Snipping Tool overlay opens, you can choose different capture modes.
- Rectangle: drag a box around the area you want. This is the one I use most.
- Window: capture one specific window.
- Full screen: capture everything visible on the screen.
- Freeform: draw a custom shape around the area you want.
- Video snip: record a selected area of the screen.
For normal office work, rectangular snips and window snips are usually enough.
Rectangle is great when you only need one section of a page. Window mode is better when you want to send someone a clean screenshot of one app without showing the rest of your desktop.
That last point matters. Screenshots can easily reveal too much: names, files, tabs, emails, calendar entries, or browser history. Capturing only the relevant area is not just faster. It is also cleaner and safer.
Windows screenshot shortcuts worth knowing
Here are the screenshot shortcuts I would actually remember.
Windows key + Shift + S
Opens the Snipping Tool overlay so you can capture a selected part of the screen.
This is my default shortcut for quick screenshots.
Print Screen
On many updated Windows 11 PCs, this opens Snipping Tool by default. On other PCs, it may capture the full screen and copy it to the clipboard.
If you like the key and it works the way you want, use it. If not, check the keyboard setting in Windows Accessibility settings.
Alt + Print Screen
Captures only the active window.
This is useful when you want a clean screenshot of one app without manually selecting an area.
For example, click the dialog box or app window first, press Alt + Print Screen, then paste it with Ctrl + V.
Microsoft also documents this shortcut in its guide to copying window or screen contents.
Windows key + Print Screen
Captures the full screen and saves the file automatically in your Pictures > Screenshots folder.
This is not my favorite shortcut for quick sharing, because I usually want to paste the screenshot immediately. But it is useful when you want a saved file without thinking about it.
Microsoft documents Windows key + PrtScn and the fallback Fn + Windows key + Space Bar for devices without a Print Screen key in its Print Screen shortcut guide.
Ctrl + Print Screen
This is a more specific one. In Snipping Tool, Microsoft documents Ctrl + Print Screen as a way to capture a menu after opening Snipping Tool.
You probably do not need this every day, but it can help when a menu disappears as soon as you click away from it.
Snipping Tool can do more than screenshots
The built-in Windows tool is not just for static screenshots.
You can also use it for a few small but useful tasks.
Record part of your screen
Press Windows key + Shift + R to select a region of the screen and record a short video clip.
This is useful when a screenshot is not enough. For example, if you want to show a tiny workflow, a bug, or the sequence of clicks that leads to a problem.
Add basic annotations
After taking a screenshot, you can open it in Snipping Tool and add simple marks with the pen, highlighter, shapes, crop tool, or eraser.
This is where tools like Lightshot can still feel faster for some people. If your workflow is mostly arrows, boxes, and quick annotations, you may still prefer a dedicated tool.
But for many screenshots, the native tool is enough.
Copy text from screenshots
Snipping Tool also has Text actions, which can extract text from a screenshot.
That is useful when you see text inside an image, a scanned PDF, a paused video, an error message, or an old app where normal copy and paste does not work.
I covered that workflow in more detail here: how to copy text from images in Windows.
When a third-party screenshot tool still makes sense
I am not saying you should never use tools like Greenshot or Lightshot.
They can still make sense if you need a very specific workflow, faster annotations, custom upload options, or editing features that Snipping Tool does not handle the way you like.
But I would not install an extra screenshot app just to capture part of the screen.
For that, Windows already gives you a good native option.
Try this for a week:
- Use Windows key + Shift + S when you want to select a specific area.
- Use Alt + Print Screen when you only want the active window.
- Use Windows key + Print Screen when you want a saved full-screen file.
- Use Print Screen if your PC already opens Snipping Tool and you like that key better.
That is enough for most office screenshots.
And the best part is that you do not need to install anything, ask IT for permission, or add another tool to your already crowded workflow.
Want more practical Windows productivity tips? If you like simple ways to make everyday work faster, I share more practical Windows productivity tricks in the TurboTasking newsletter.